Gameplay · 9 min
Aniimo Nurture: How to Get the Prismana You Actually Want
Every region has one Prismana assigned to it, and Nurture is how you build toward that exact spawn instead of waiting for luck. ZakkuVerse walks the whole loop on camera: the daily charge that banks to three, the Wild Surge you catch rather than kill, the Vein Abundance weekend that pays 50% more, and the Sparkling Cube throw that turns the catch into a Perfect Sparkling Prismana.

Written by
ZakkuVerse
Testing, picks and commentary by ZakkuVerse, published here with permission
Nurture is the one Prismana route you control, and the region you nurture is what decides which Prismana you get. Earn an area’s Bronze Badge at 40% collection, spend the free daily charge at its Bloom, catch the Wild Surge rather than fight it, and harvest the Veinfruit. Each harvest raises that area’s Prismatic Energy, and once the gauge reads Full the region’s Prismana is guaranteed to spawn. The fast lane is a Prismana Crystal fed to the Branch, which triggers a Prismana Flow outright, three times a day.
The charge economy is the part people get wrong. You get one free Nurture a day, refilled at 04:00, and a Branch banks up to three. Everything past that costs a Vein Essence per run. So this is not a system you grind in one sitting, it is a system you point at one region and let accumulate.
The walkthrough is ZakkuVerse’s, recorded on 19 September 2026 during the first Vein Abundance weekend, and it ends on a Perfect Sparkling Prismana Hexxin caught on camera. Every number below is printed on his screen, quoted from the client’s own rule text, or attributed to him. Where his wording and the client’s disagree, we say so.
The area picks the Prismana, not the offering
Each region has one Prismana assigned to it, and Prismatic Energy is stored per area. Nurture the wrong region for a week and you have built a guarantee for a creature you did not want. ZakkuVerse says this happened to him, which is the most useful sentence in the video.
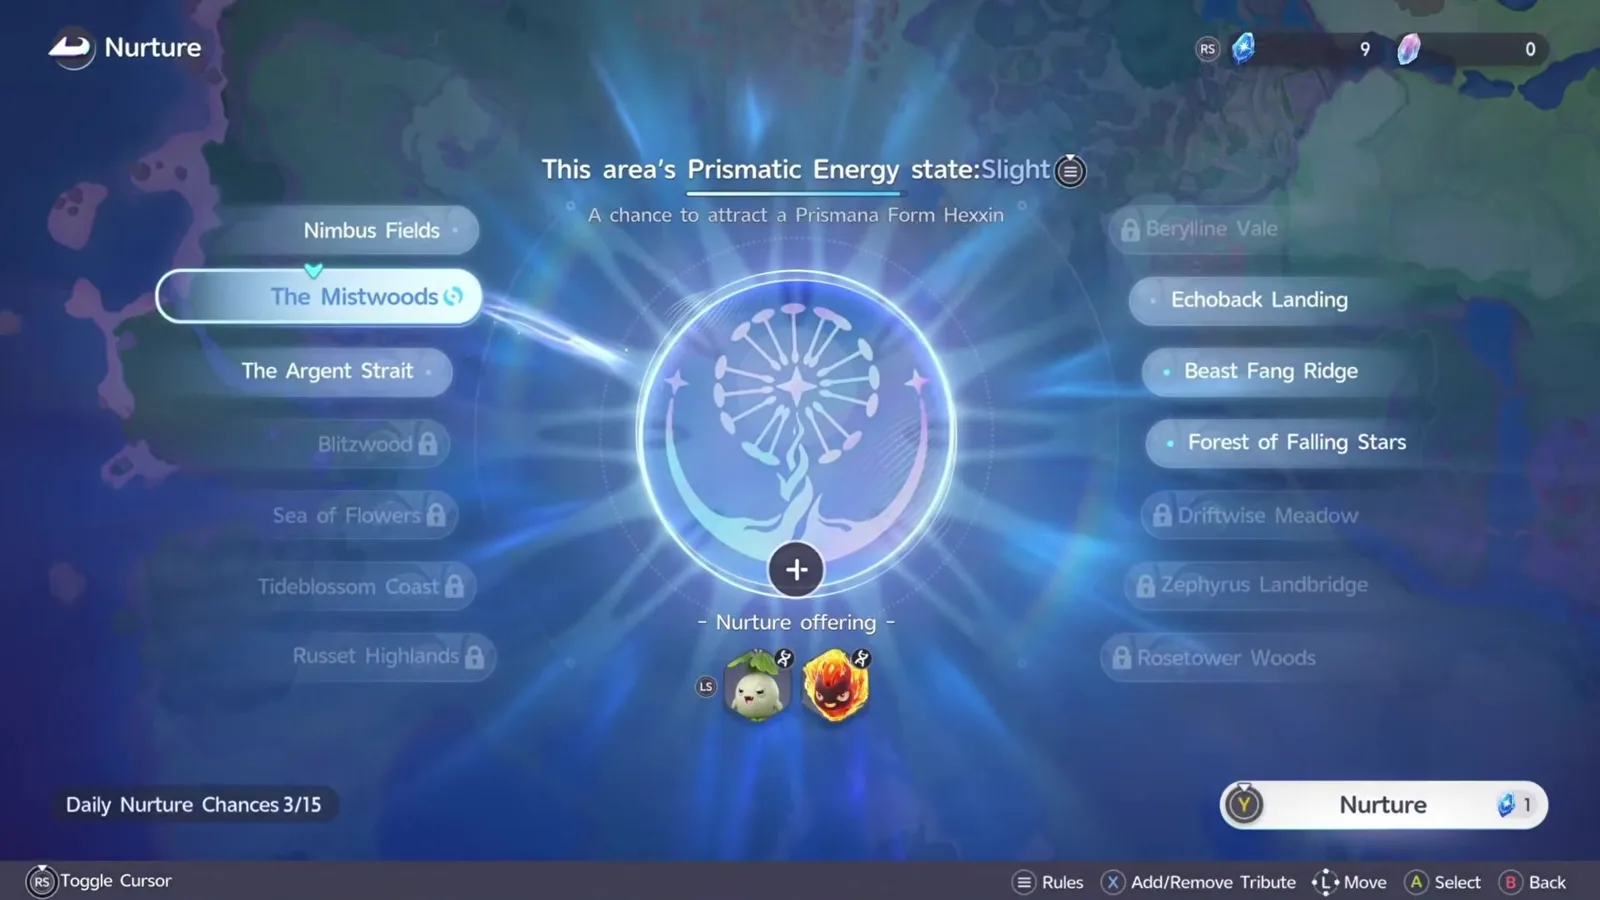
Our own index agrees with the video on every region it names. The seventeen Prismana forms that carry a home region, from the Aniidex:
| Region | Prismana form | Element | Role |
|---|---|---|---|
| Beast Fang Ridge | Scorchhowl | Fire | DPS |
| Berylline Causeway | Ignitis | Fire | DPS |
| Berylline Vale | Waleetle | Earth | DPS |
| Blitzwood | Blazen | Dark | Break |
| Crescent Bay | Glameep | Dark | Heal |
| Driftwise Meadow | Glacy | Light | Heal |
| Echoback Landing | Panpanta | Water | Break |
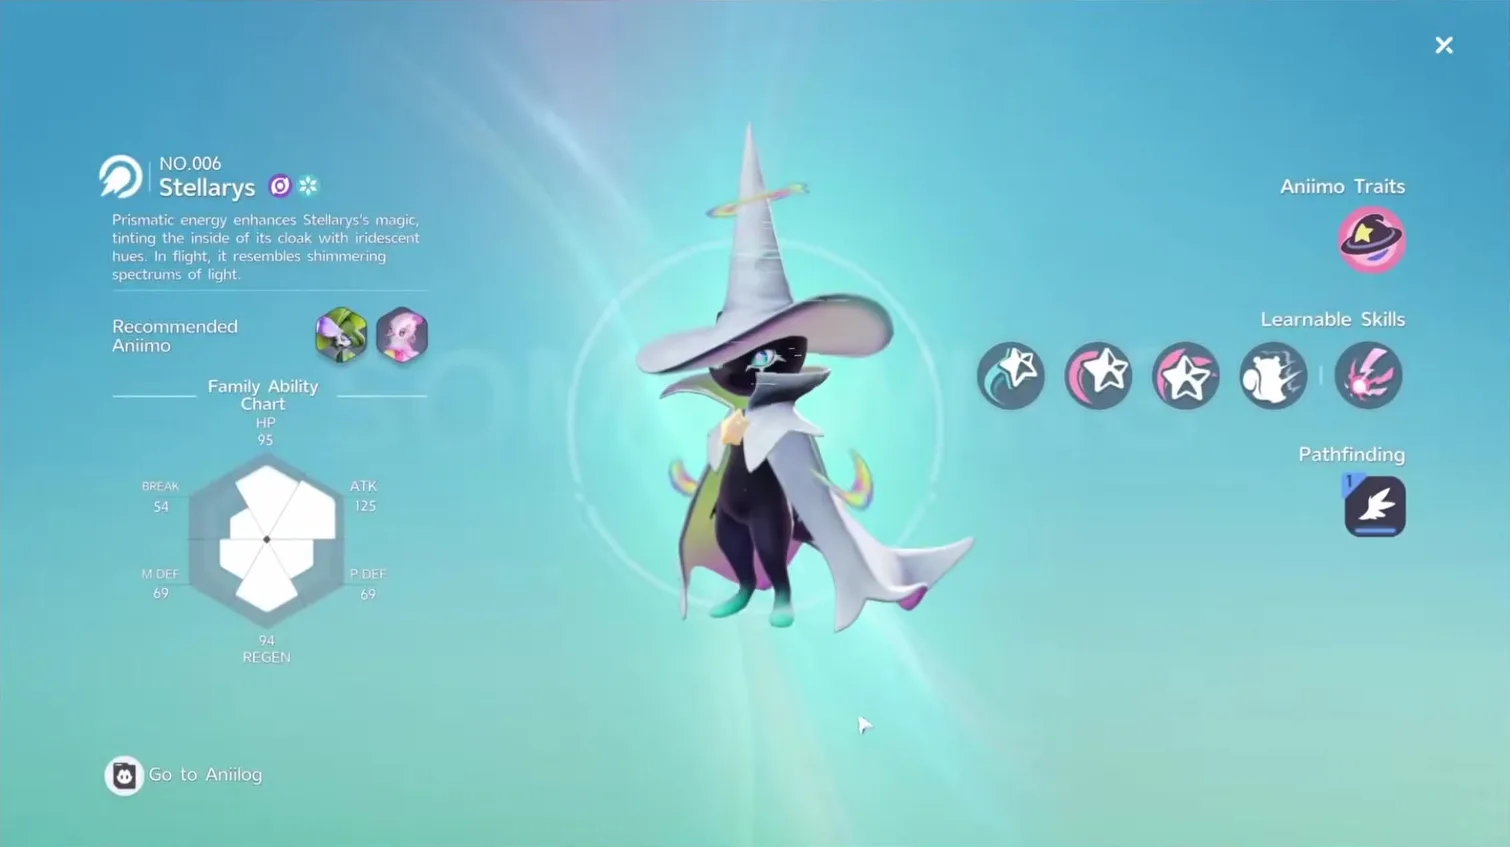
| Forest of Falling Stars | Stellarys | Dark | DPS |
| Mistwoods | Hexxin | Dark | Regen |
| Nimbus Fields | Turbo | Dark | Support |
| Rosetower Woods | Melloblum and Grizbo | Grass, Dark | Support, DPS |
| Russet Highlands | Pawney | Dark | DPS |
| Sea of Flowers | Thornblade | Grass | DPS |
| The Argent Strait | Cornet | Wind | DPS |
| Tideblossom Coast | Luminelle | Light | Support |
| Zephyrus Landbridge | Magmarex | Fire | Break |
There are 27 Prismana forms in the launch client and only these carry a home region: the other ten come from eggs, events and season tracks. One name needs correcting, though. ZakkuVerse says Berry Line Veil, while the client and our map both write Berylline Vale.
Claim the free one first. Pathfinder progression hands every player one Prismana of their choice from a board of fourteen, no odds attached, which skips an entire grind. Our stats-first comparison lands on Hexxin, ZakkuVerse’s own ranking landed on Grizbo, and here he adds a third answer: Prismana Glacy, for the healing plus the attack buff.












Charges, costs and the daily cap
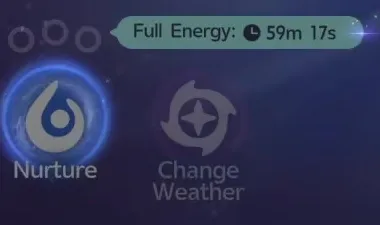
One free Nurture per day, banking up to three. Everything after that costs one Vein Essence. The client agrees in its own words: Branch energy infusion will complete at 4:00 AM every day. You can perform Nurture without costing any stamina at this time. Each Branch can accumulate up to 3 energy infusions. So does our launch-day priority list.
| Action | What it costs | What it gives | Limit |
|---|---|---|---|
| Nurture with a free charge | Nothing | One Wild Surge at the Bloom | 1 a day, banks to 3 |
| Nurture past the free charges | 1 Vein Essence | The same Wild Surge | The counter read 3/15 on his screen |
| Add an offering | 1 elemental shard, 5,000 Credits each | Steers the surge toward one family | Cost: 1/1, one per run |
| Catch during the surge | Aniipods | Grows the Veinfruit, which is the energy | Up to 20 catches count, per ZakkuVerse |
| Land a Lucky Strike | Nothing | Extra Prismatic Energy, and its own Flow chance | Luck |
| Feed a Prismana Crystal | 1 crystal | Triggers a Prismana Flow outright | 3 a day, 1 minute apart |
The 15 is not a universal number. The Branch has Lumin Amber milestones, one of them Prospering Clusters: the client’s achievement string puts it in five words, Nurture Ecosystem count increased by 10. ZakkuVerse places it at 30 Lumin Amber and the next node, which unlocks the weather change, at 60. His Branch reads 32 infused against a node at 60.
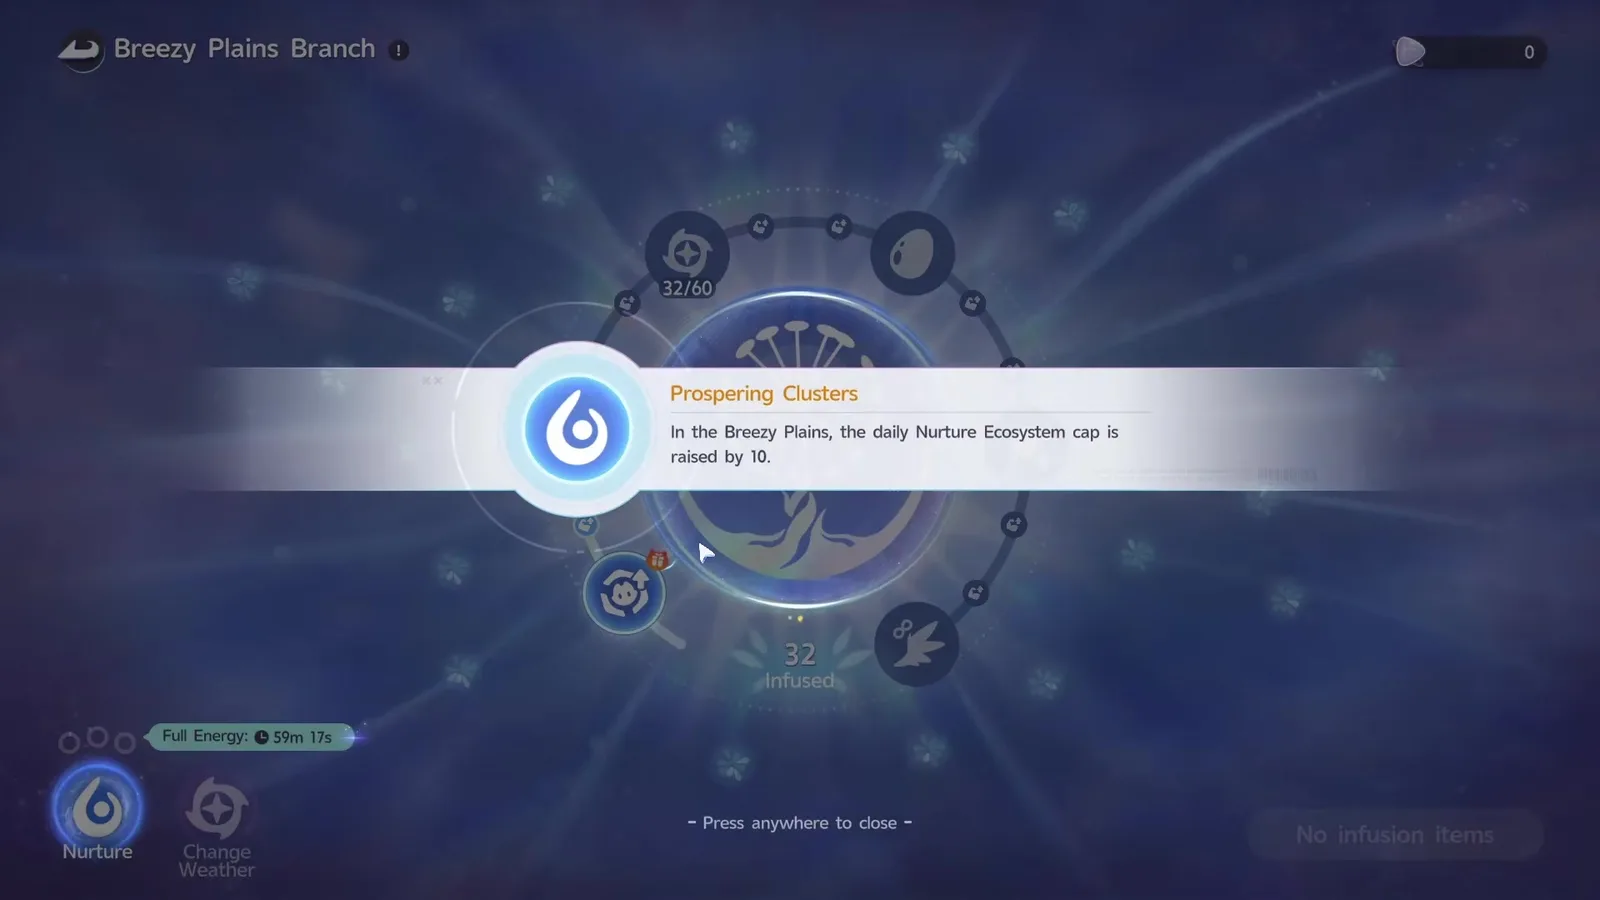
So the ceiling moves, the free charge does not. More than one run a day means Vein Essence, and the daily and weekly caps guide shows what else competes for that login.
What one Nurture run actually does
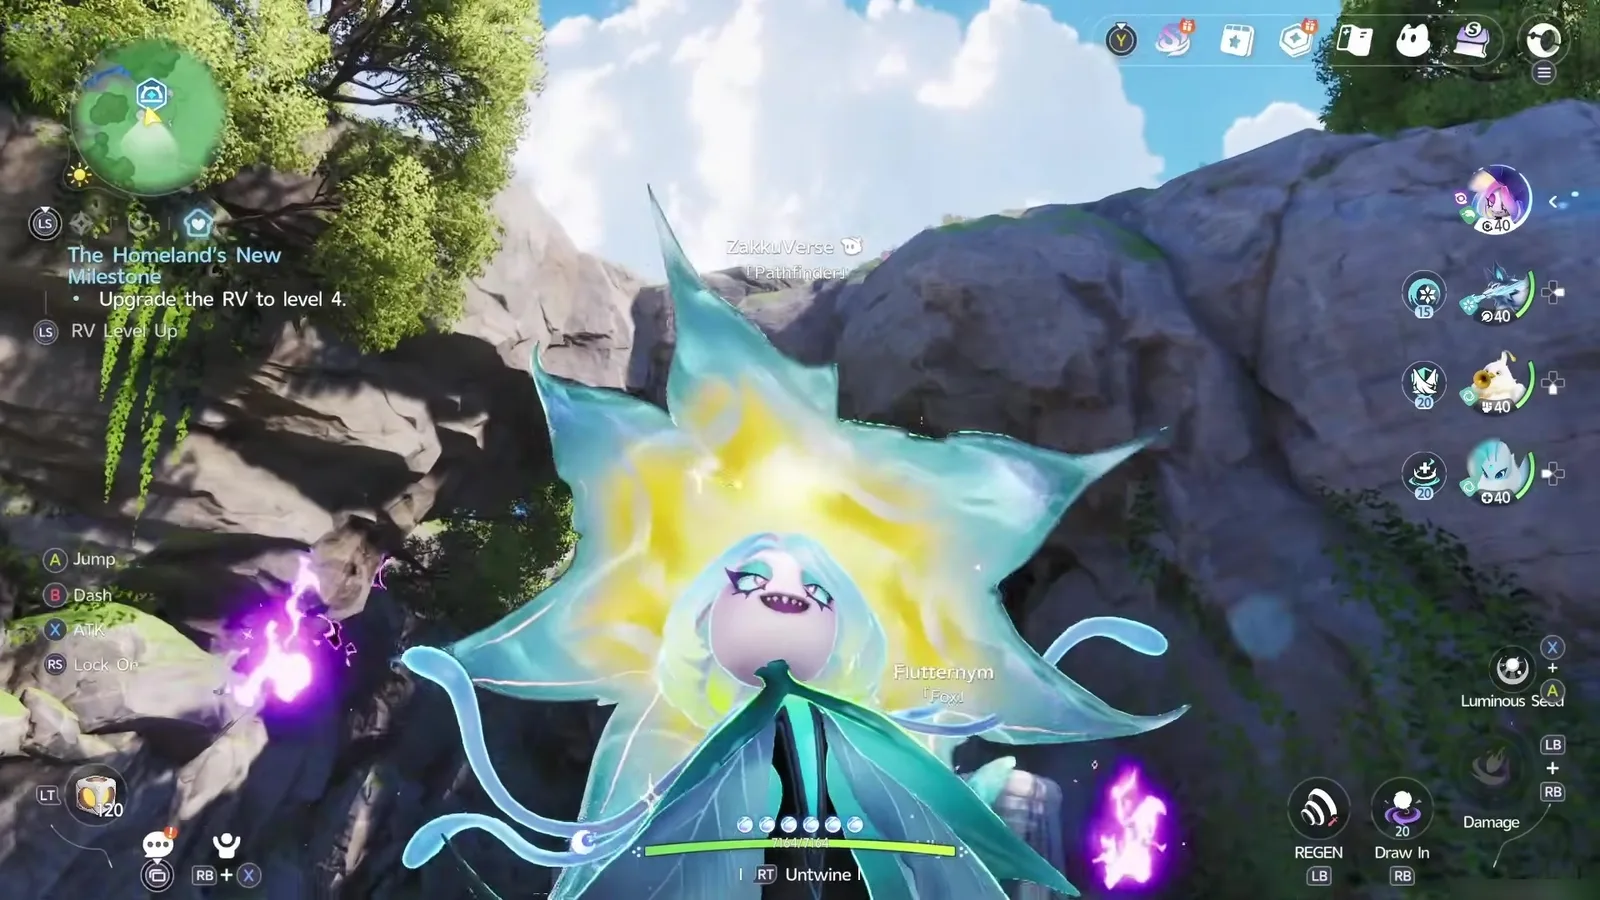
Nurturing a Bloom triggers a Wild Surge: a crowd of local Aniimo gathers, and every one you catch grows the Veinfruit at the centre. When the surge ends you pick the fruit, and that releases the Prismatic Energy into the area. The client removes the main misconception itself: Catching these Aniimo allows the Bloom to absorb Prismatic Energy, indicated by the Veinfruit at its center growing larger.
Catching, not defeating. ZakkuVerse says he has watched players spend a whole surge killing the crowd while the fruit never moves. His own cap, said rather than shown, is up to 20 catches per surge, so a run is a sprint with cheap devices.
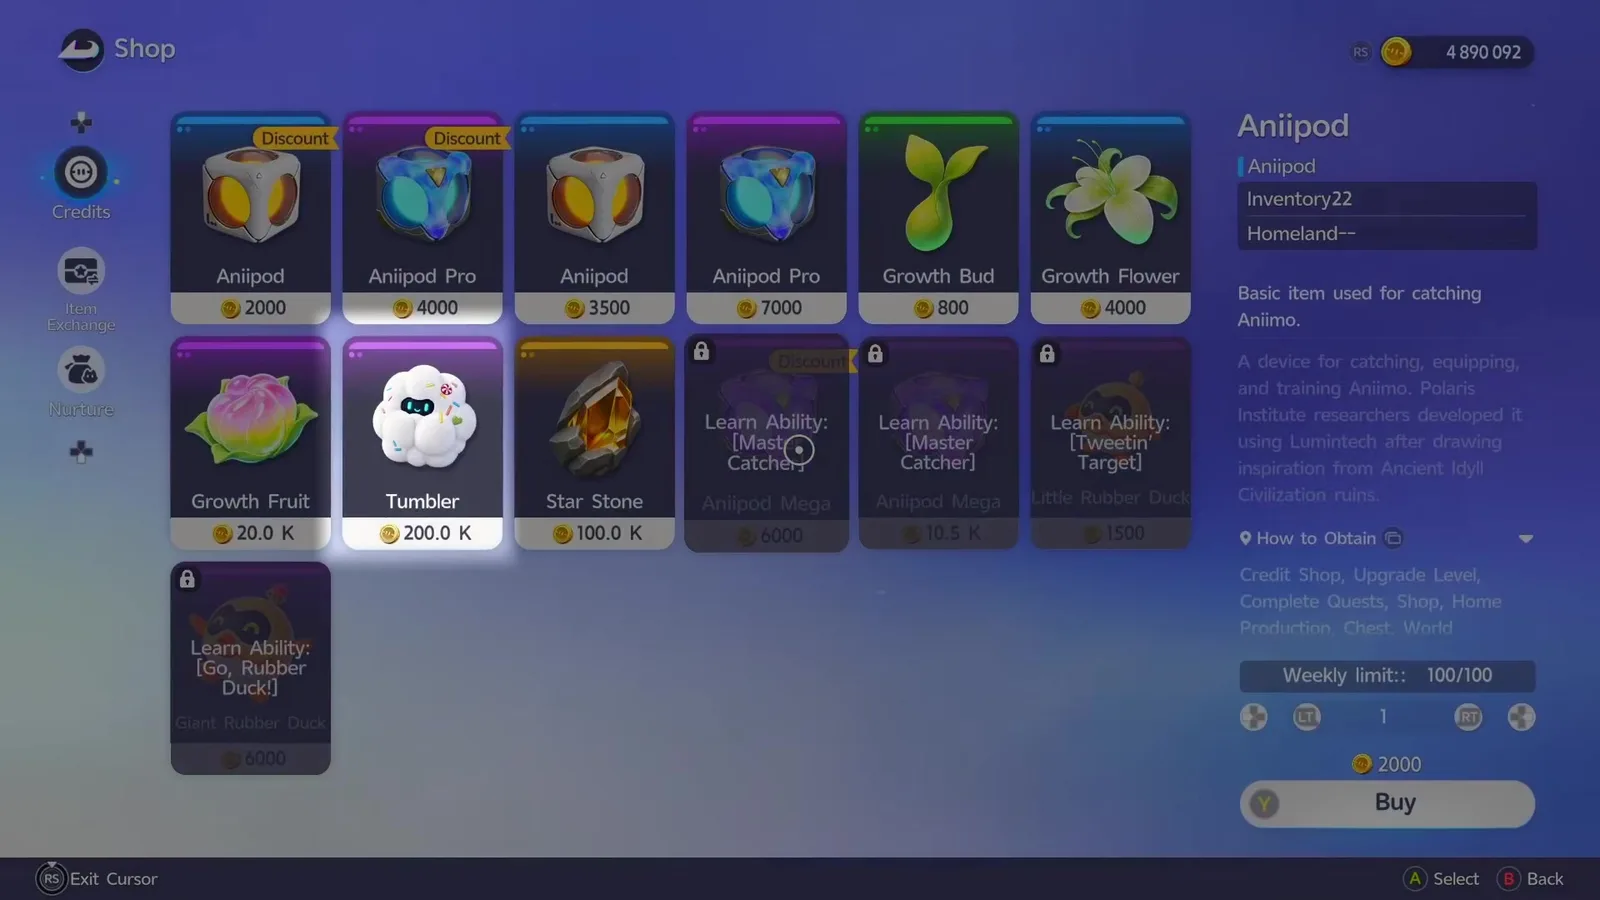
The video does not quote that line, so here it is: a Tumbler is twice as good inside a Wild Surge as anywhere else. Everything else can be a plain Aniipod, which is what he recommends. Save the rare devices for the one throw that matters.
One more free source of energy, from the client rather than the video: landing a Lucky Strike while catching Aniimo can also increase an area’s Prismatic Energy. ZakkuVerse lands two on camera. His other claim, that your first Prismatic gain of the day is doubled, is not printed anywhere we can find, so treat it as his reading.
Offerings: what a shard really buys
An offering steers which family the surge gathers. It does not change which Prismana the region carries, and it does not guarantee a Prismana of that element. The outpost Credit Shop sells eight, one per element, at 5,000 Credits each.
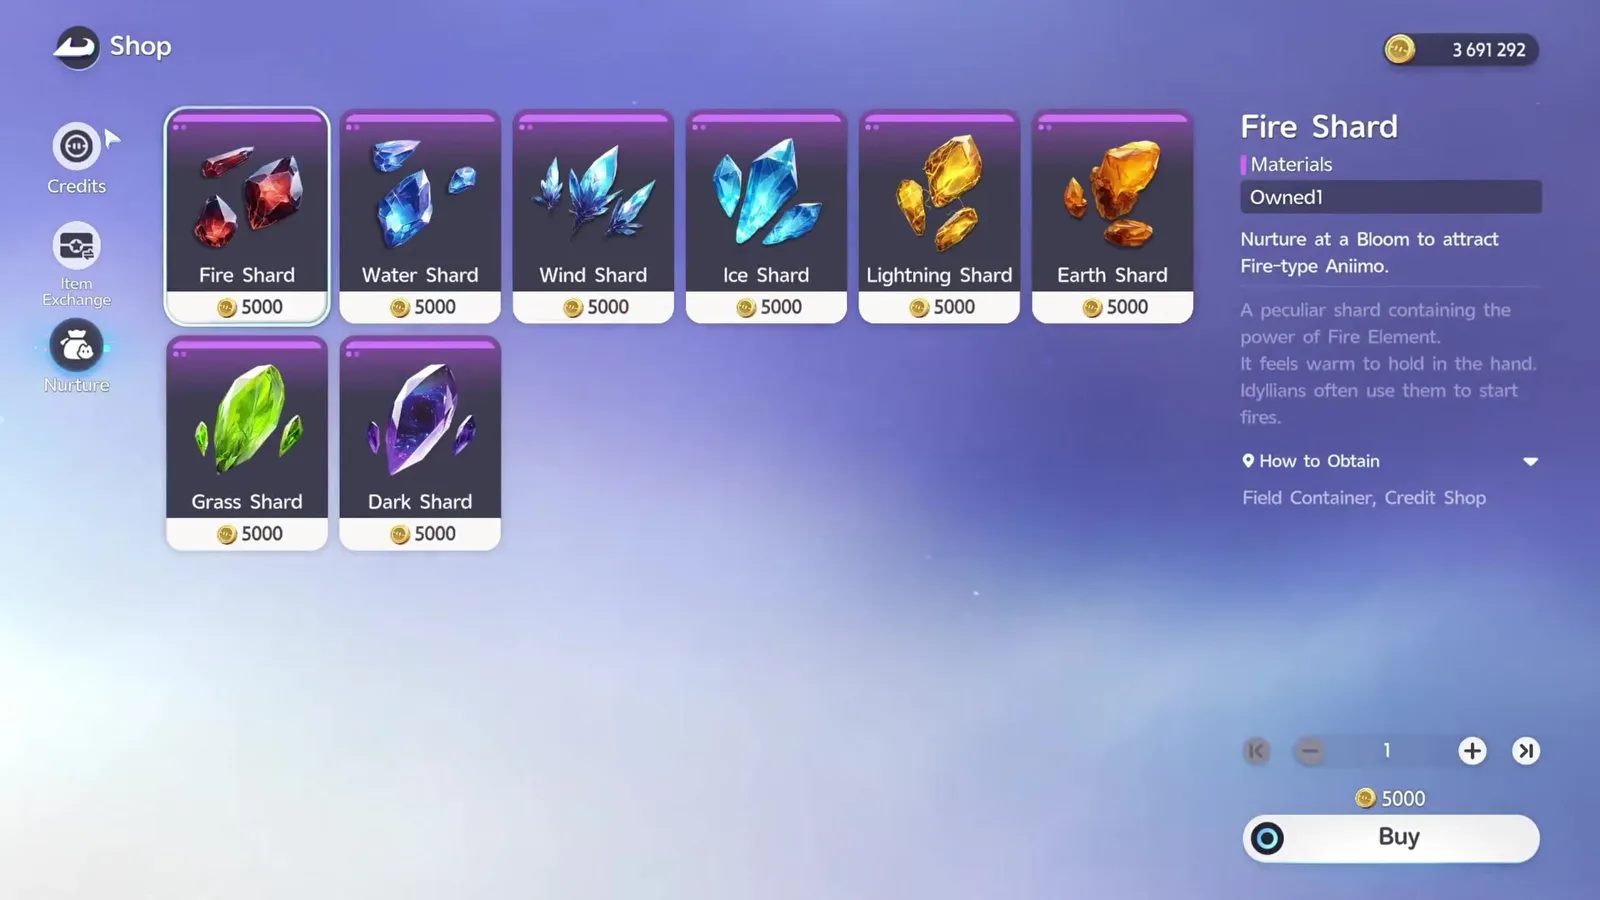
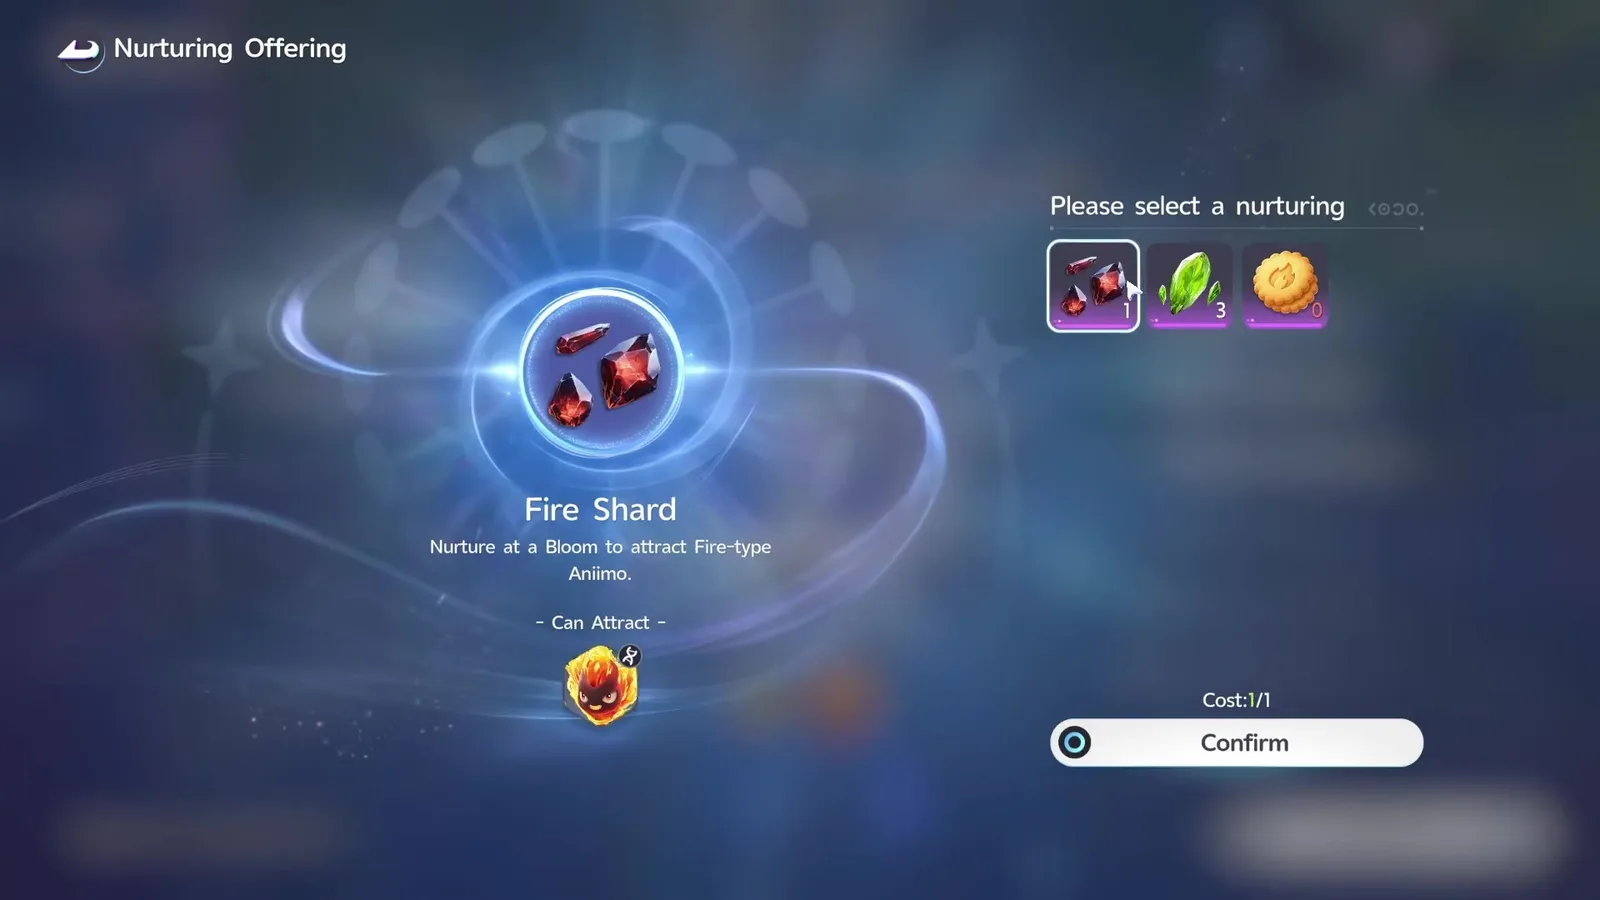
The offering slot is also how the events reach into Nurture: some biscuits pull a specific guest instead of an element, which is why the Sparkelf crossover is worth reading alongside this guide.
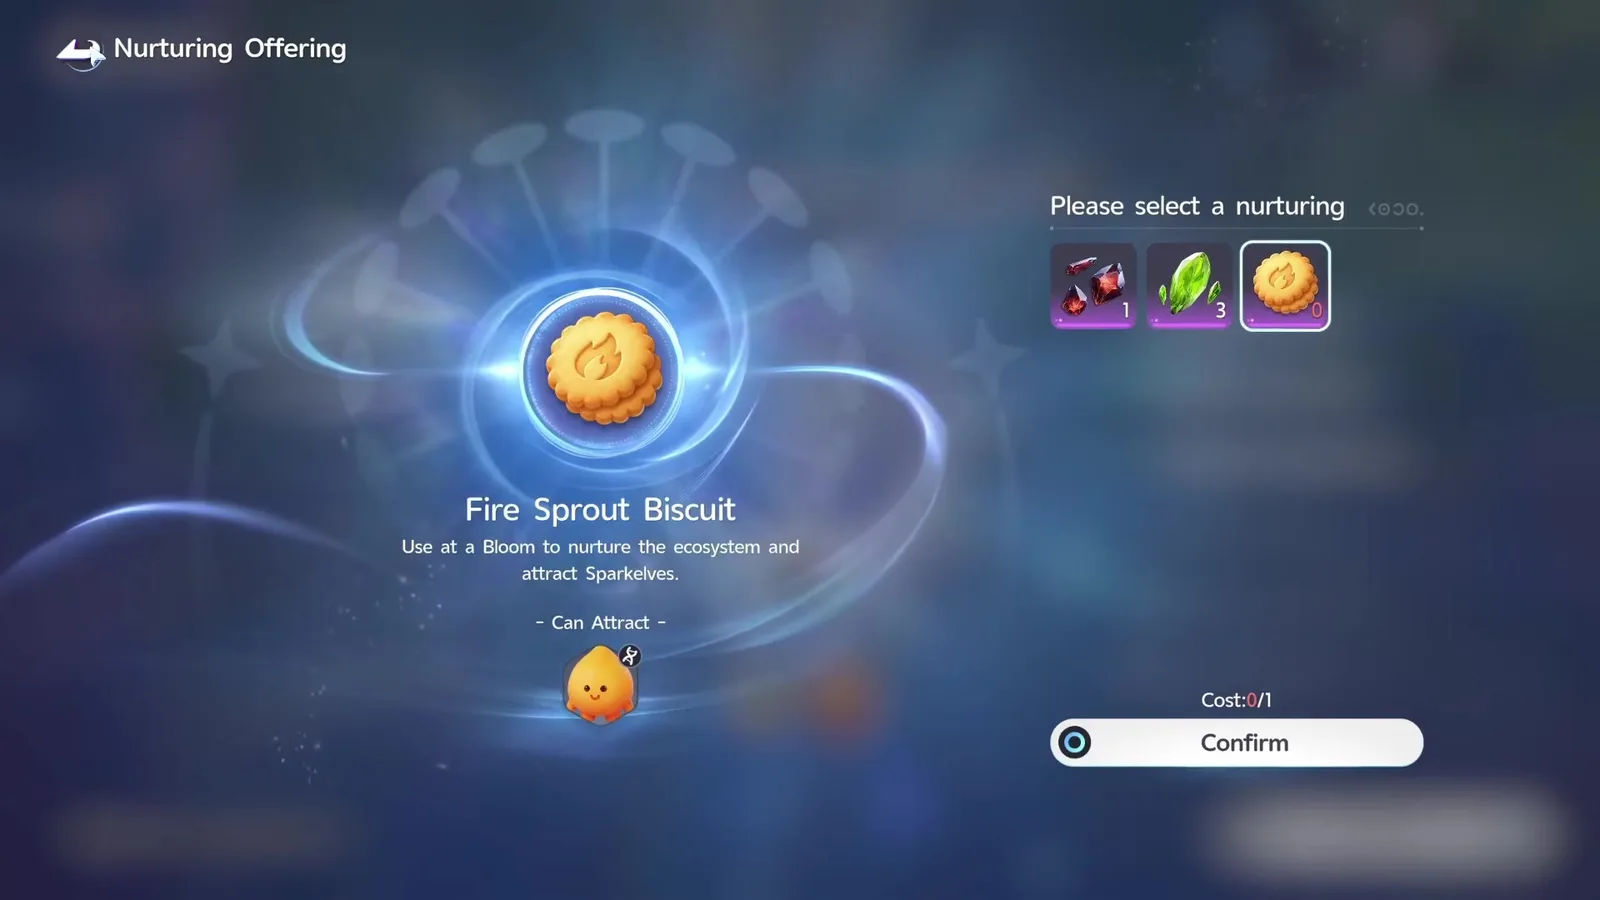
One honest disagreement. A tooltip still in the client warns that higher quality offerings attract higher-tier Aniimo, accumulating more Prismatic Energy, while Pawprint’s 3 September developer letter says offering quality no longer affects Wild Surge quality and nurturing now grants a fixed amount of energy. The letter is newer: treat an offering as a steering wheel, not an accelerator.
The gauge, and the guarantee at Full
The area’s Prismatic Energy climbs through six printed states: Empty, Very Low, Slight, Abundant, Very High, Full. Every increase carries its own chance of tipping the region straight into a Prismana Flow, and once the gauge genuinely reads Full the spawn is guaranteed. That is the client’s own promise, word for word: Every time you complete a Nurturing session, you raise that area’s Prismatic Energy. Once Prismatic Energy is full, a Prismana Aniimo is guaranteed to spawn.
ZakkuVerse makes one point that is easy to misread: Very High is a display tier, not a countdown. Seeing it does not mean the next run fills the bar. The client covers the other direction: When an area’s Prismatic Energy increases, there’s a small chance it’ll surge straight to full and immediately draw in Prismana Aniimo. You can win early, and you cannot lose late.


One further badge the video does not mention. Bronze at 40% opens Nurture, Silver at 70% opens the weather change, and the Gold Badge makes the grind itself cheaper: Wild Surges in this area will build up Prismatic Energy more efficiently, making it easier to attract rare Prismana Aniimo.
Vein Abundance, and the days it saves
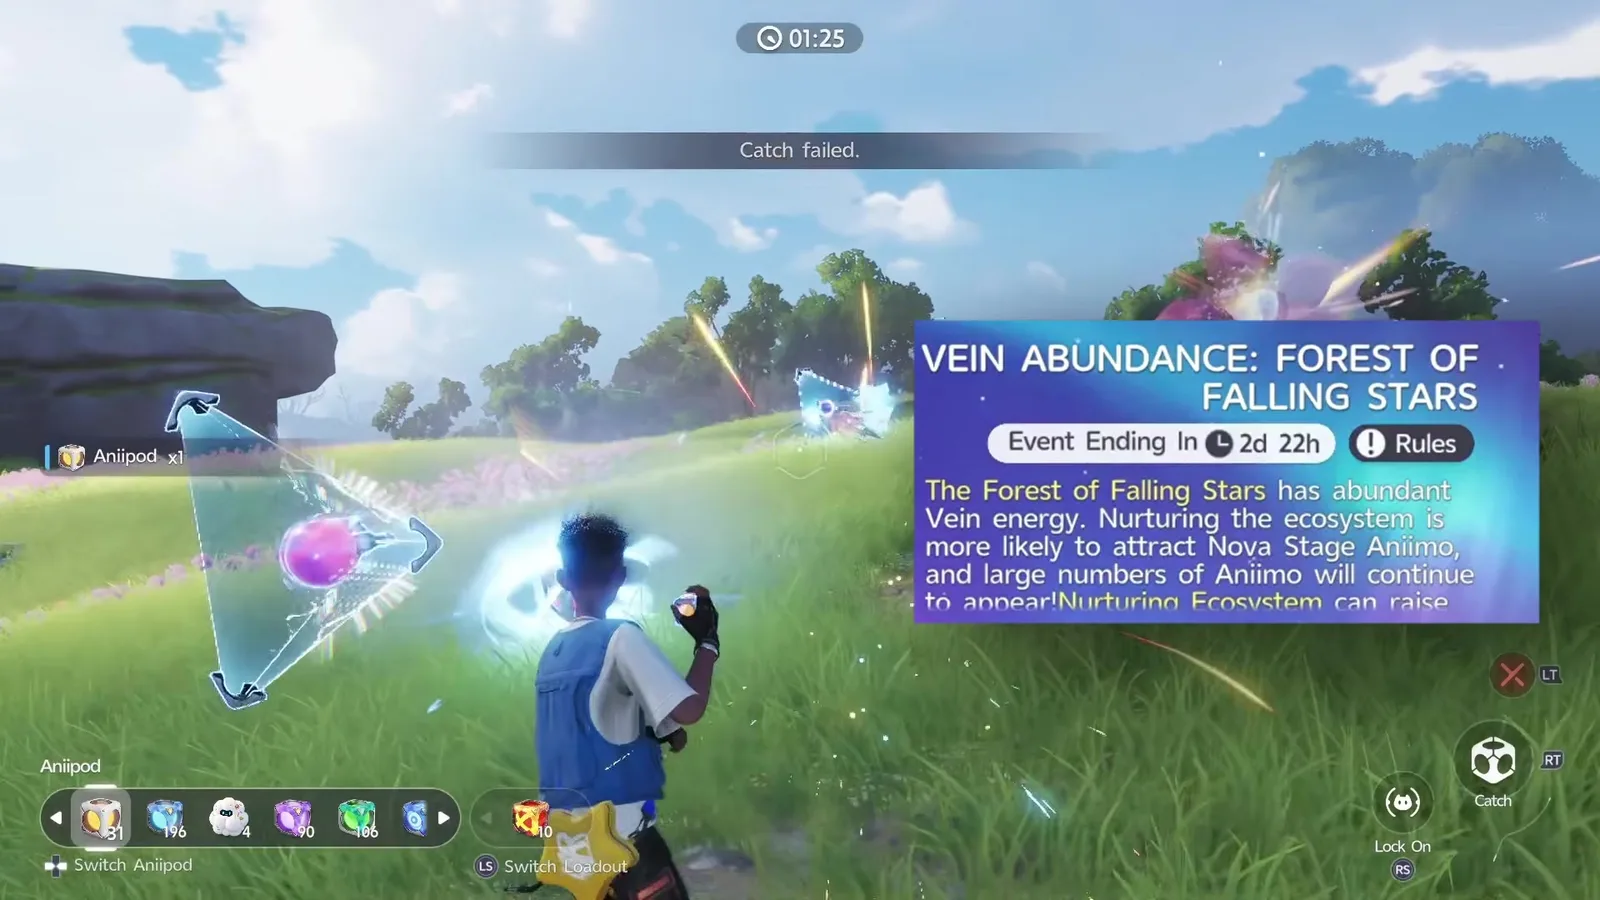
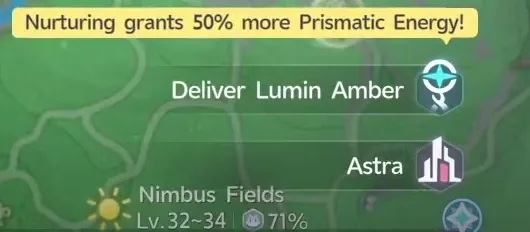
Vein Abundance rotates a boost through regions at weekends, and the event card prints the number: Prismatic Energy from Nurturing +50%, with an attempts counter of 3/3. The first weekend, 18 to 20 September, sat on Forest of Falling Stars and Prismana Stellarys, where ZakkuVerse filmed.
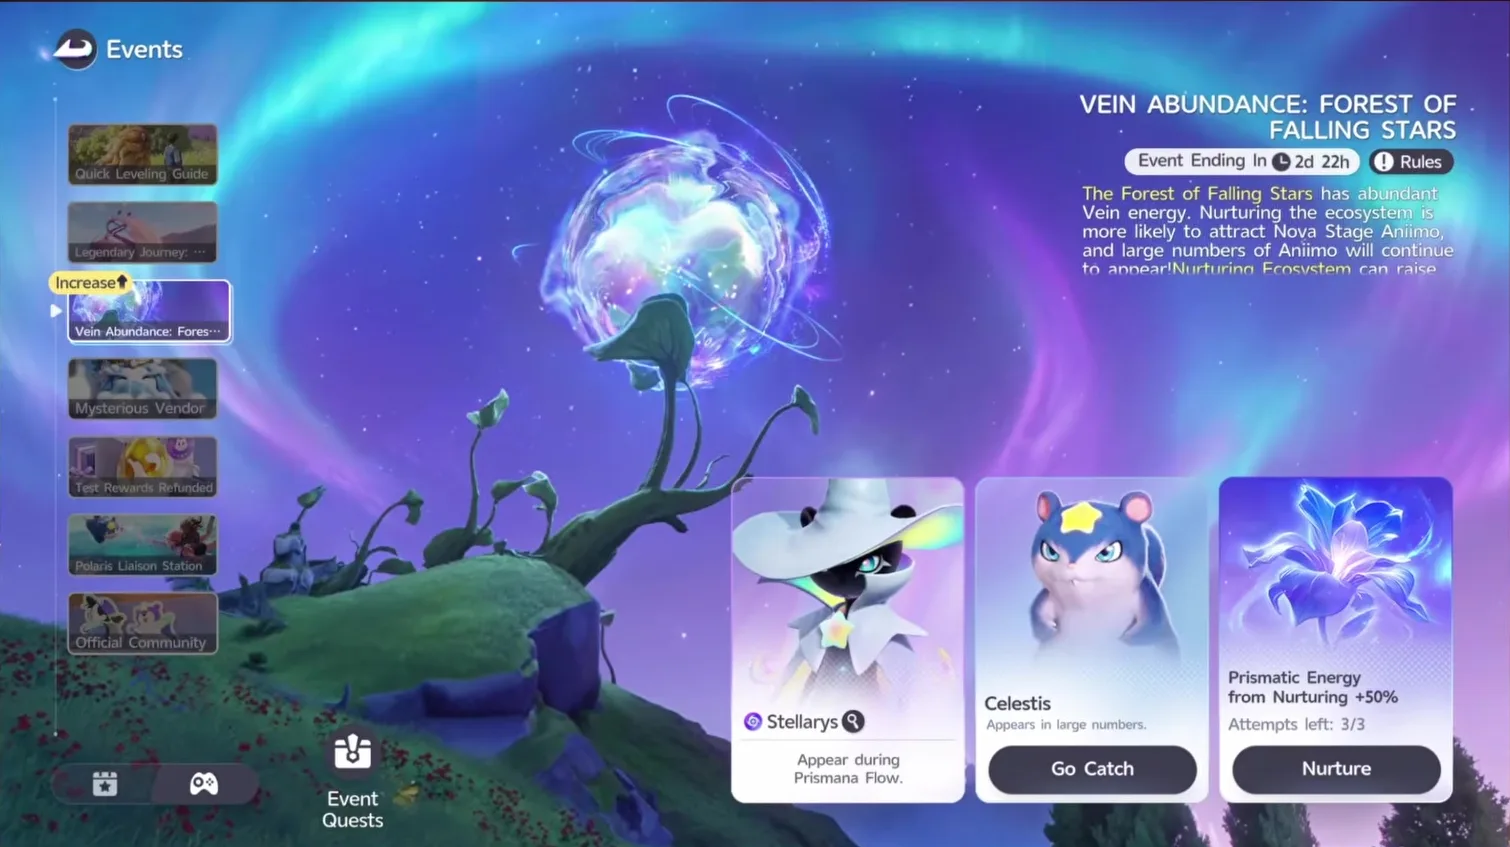
The client’s own rules page for the event goes further than the card does, and our calendar entry carries the same rules. In its words: during the event, in the first 3 Nurture runs you do each weekend in the designated area, the chance for Nova Stage Aniimo to appear will greatly increase. After harvesting Veinfruit, your area Prismana gain is boosted by an additional 50%. It then publishes two probabilities we had listed as unknown: a 3% chance to trigger a Prismana Flow every time Nurture raises the area’s Prismatic Energy, and 0.6% every time a Lucky Strike does.
The worked example. Three banked charges spent inside the featured region pay 1.5x each, so they release the energy of 4.5 ordinary runs: 1.5 runs conjured out of nothing, which at one free charge a day is a day and a half of nurturing saved for zero Vein Essence. Take the same three runs at a 3% Flow chance apiece and the odds of skipping the gauge entirely are 1 minus 0.97 cubed, or 8.7%. Over ten runs that becomes 26.3%. Free upside on top of a guarantee you were walking toward anyway.
The rotation after that weekend, from our calendar and confirmed by the client’s schedule: Beast Fang Ridge with Prismana Glynsera from 21 September, Rosetower Woods with Melloblum from 28 September, Berylline Vale with Waleetle from 5 October, Nimbus Fields with Inferlupa from 12 October, then a Prismana Carnival, 19 to 25 October, running all four at once. ZakkuVerse reads the same slots off a table but says Glancera, Melbloom, Wito and Infalupa.
These guests are visitors, not residents. Prismana Glynsera has no home region in our index at all, and Beast Fang Ridge’s own Prismana is Scorchhowl, so an event week is the only window some of these forms have.
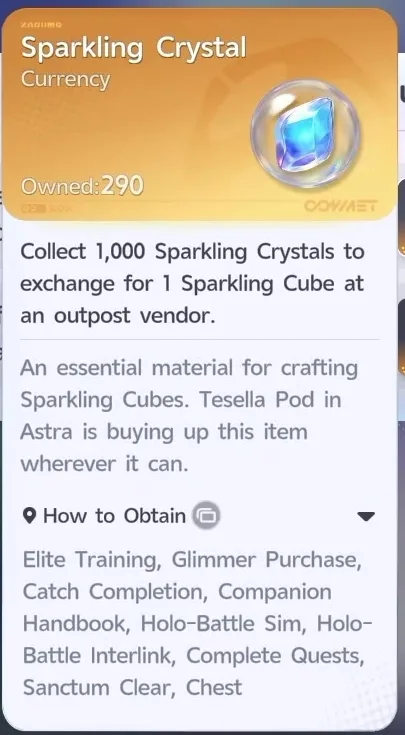
The same tab pays twice more. Event Quests give 30 Sparkling Crystals for using Nurture once in the featured region and another 30 for catching ten Aniimo after it, and that currency has exactly one job.
The Prismana Crystal shortcut
Earn a region’s Silver Badge at 70% collection to unlock Ecosystem Intervention, feed the Branch Lumin Amber until it reaches the Prismana Radiance node, then spend one Prismana Crystal to trigger a Prismana Flow outright. Three crystals a day, one minute apart. This is the fastest route in the game and it skips the gauge entirely.
Every clause of that is the client’s own wording. The badge: Obtain the Silver Badge to unlock Ecosystem Intervention for the area. Use Vein energy to change the area’s weather. The crystal: After the Branch absorbs 1 Prismana Crystal, it can directly trigger 1 Prismana Flow. The limit: You can use Prismana Crystals up to 3 times per day, with a 1-minute cooldown between each use. ZakkuVerse quotes the last two on screen, and both are exact. One rule he adds from play: a crystal cannot be spent while a Flow is already running.
A naming note, because the video and the client differ. The chapter is titled Prismonic Crystal Route and he says Prismonic Radiance out loud, but the item is a Prismana Crystal and the node is Prismana Radiance. His 60 Lumin Amber and 70% figures are both right: the client’s badge quests read Reach 70% Aniimo Collection Progress.
Getting a Perfect Sparkling Prismana
Prismana form, the Sparkling mutation and Potential are three separate rolls. Catching a Prismana does not make it Perfect. That is the most useful correction in the video, and our tables agree: an ordinary wild catch is 66% Common, 26% Good, 7.2% Elite and 0.8% Perfect, and Prismana forms are not exempt. A Common Prismana is a real thing.
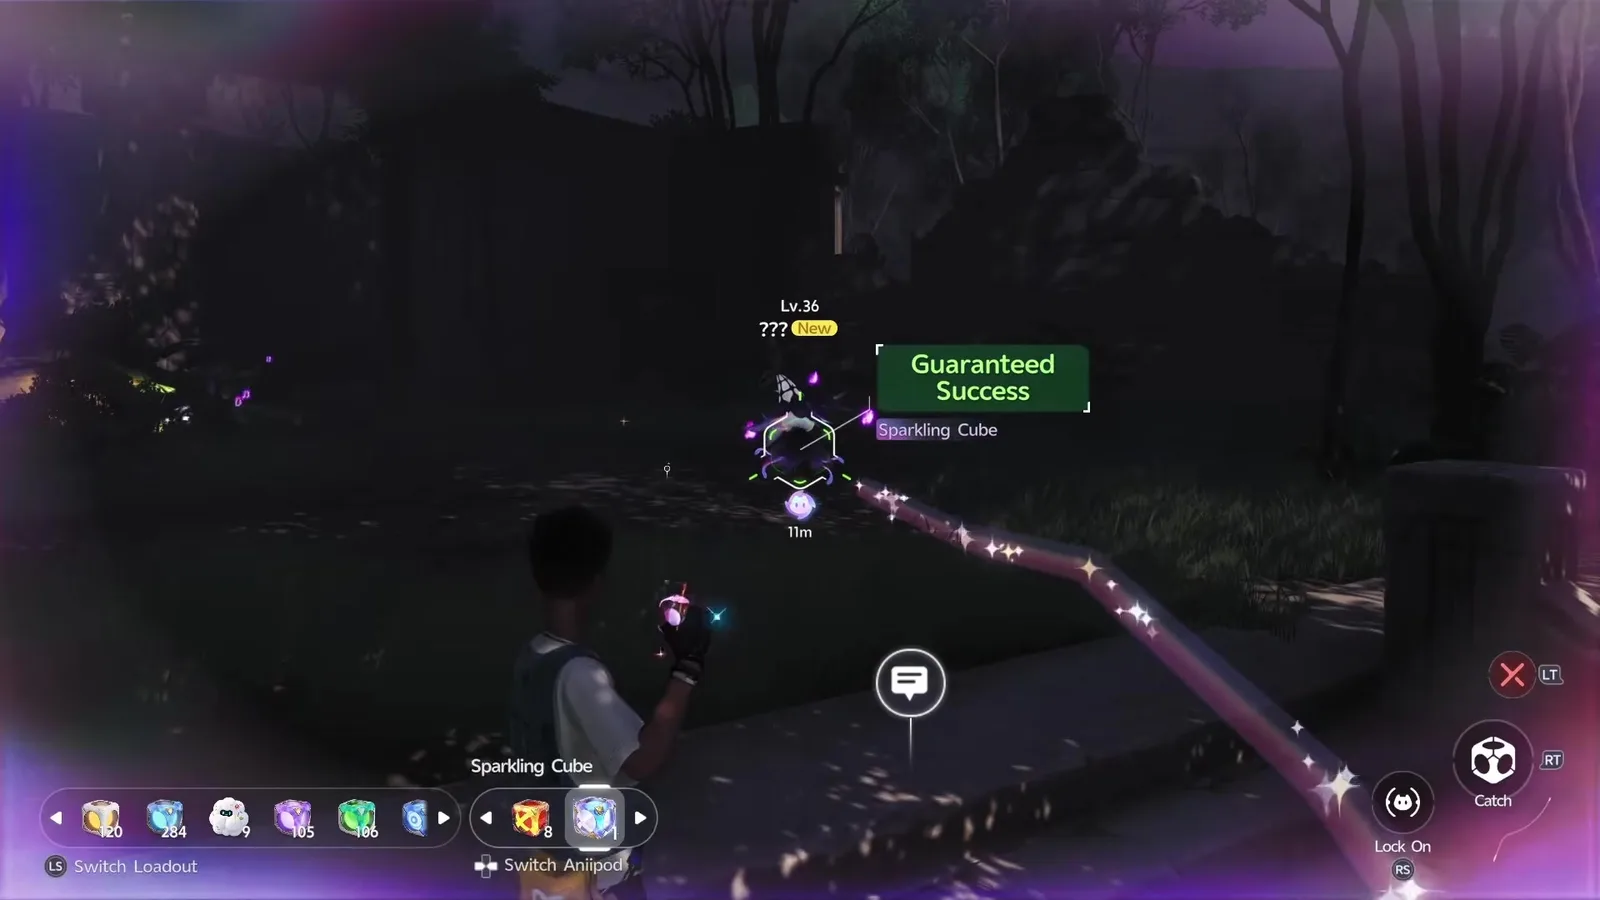
The only item that removes all three rolls at once is the Sparkling Cube: catching an Aniimo is guaranteed to succeed, its Potential is Perfect, and it will always be Sparkling. Throw it at a confirmed Prismana and you get a Perfect Sparkling Prismana. Throw it at anything else and you have spent a Prismatic-rarity device on a creature you would have released, which is the trap the egg hatching guide is about.
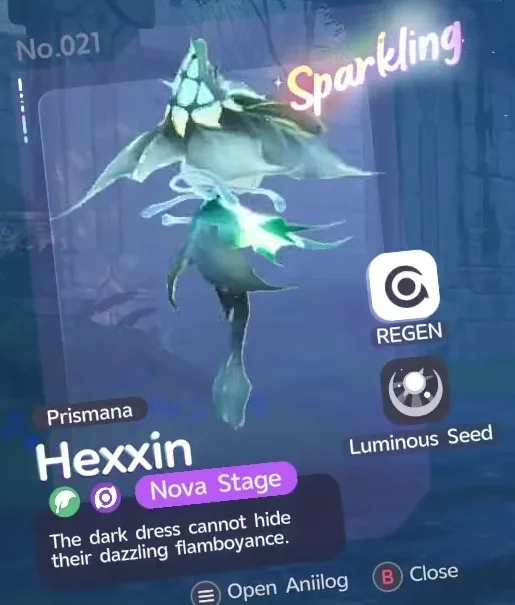
If a Cube is beyond you, a second guaranteed route never touches the gauge at all: Season Achievement pays out a Prismana egg, and the item card is explicit about what hatches.
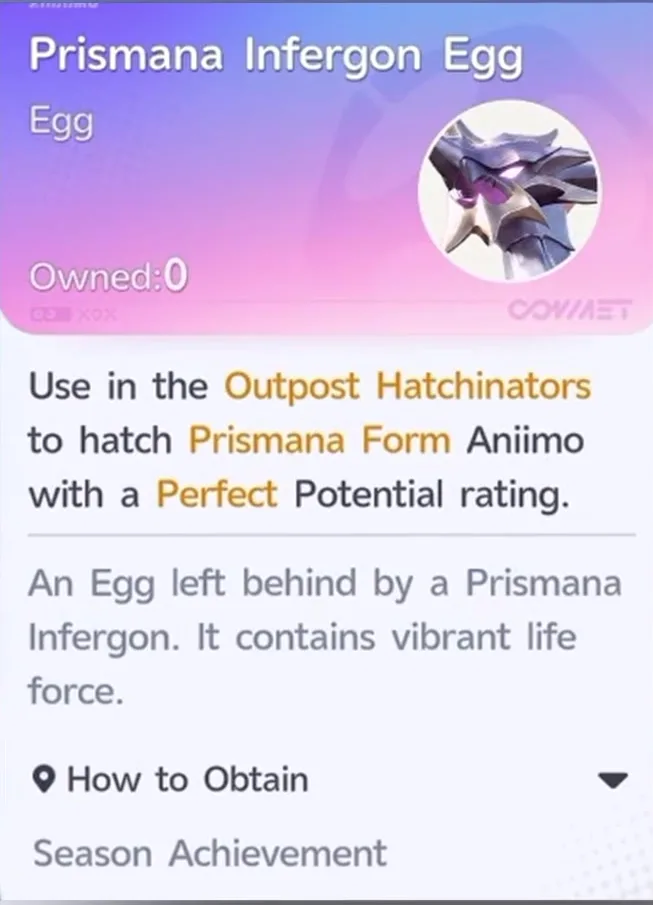
For scale, a number the video does not have: the Sparkling mutation rolls at 1 in 20,000 per encounter in the client’s tables. That is what a Cube buys on top of the Perfect.
What actually wastes a Nurture
- Nurturing the wrong region. Prismatic Energy is stored per area and stays there. This is the expensive one.
- Fighting the Wild Surge instead of catching it. Kills do not grow the Veinfruit, and the Veinfruit is the energy.
- Walking away before harvesting. The banner says Wild Surge ended, go to the Bloom to release accumulated Prismatic Energy. Unpicked fruit is an unbanked run.
- Letting charges cap. A Branch holds three. The fourth day of not logging in is a charge you never had.
- Spending Vein Essence outside a Vein Abundance weekend when your target region is the featured one next week. Check the event tab first.
- Buying a shard for a family that does not live there. The Can Attract row tells you before you confirm, and an offering for an absent family does nothing.
- Throwing the Sparkling Cube at an ordinary Aniimo. The Cube does not create a Prismana. It only guarantees one you have already found.
- Grinding a region for a Prismana that is handed out free. Check the Prismana choice board, the crossovers and the season track first.
The whole route, in order
- Claim the free Prismana. Fourteen choices, no odds. Take the one you want, or take one to skip a grind.
- Pick the region that carries your second target, from the table above.
- Catch to 40% in that region for the Bronze Badge, which opens its Bloom.
- Feed Lumin Amber to the Branch. Prospering Clusters raises the daily cap, and the later node unlocks the weather change.
- Bank the free charges and spend them inside the region, ideally during its Vein Abundance weekend.
- Catch, do not fight, then harvest the Veinfruit every single time.
- Fill to Full for the guaranteed spawn, or force a Flow with a Prismana Crystal once the Silver Badge and the Radiance node are done.
- Confirm the Prismana form, then throw the Sparkling Cube. Only then.
The Umbral warning
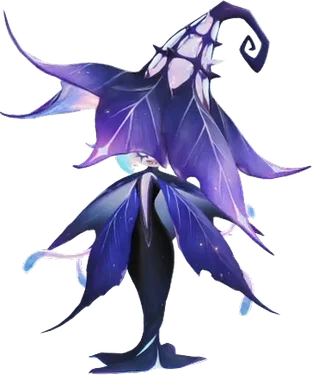
Wild Surges can turn up an Umbral Aniimo, and evolving one deletes the dark coat permanently. Pawprint’s developer letter confirms the spawn route in writing: Wild Surges triggered through ecosystem nurturing carry a chance to encounter Umbral Aniimo, who have Perfect Potential and distinctive colouring.

Two clarifications our data adds. The Umbral roll is 1 in 3,000 per encounter across 185 Aniidex entries, always with Perfect Potential. And it never lands on the prize: the 27 Prismana forms carry no Umbral rate at all, so an Umbral in your surge is one of the ordinary locals, never the Prismana the Flow drew out.
One region, one gauge, one free charge a day, and one throw that matters. Our Prismana forms explainer covers what a Prismana actually changes about a creature, and the forms guide puts it beside the regional and basic lines.
Sources
- ZakkuVerse · "Stop Wasting Nurture! How to Get ANY Prismana in ANIIMO" (video)
- ZakkuVerse on YouTube
- The game’s own English rule text: the Nurture, Badge, Prismana Crystal and Vein Abundance strings quoted above
- The game’s own data tables: Prismana form regions, Aniipod effects, Sparkling and Umbral rates and the wild Potential roll
- Pawprint Studio · A Letter from the Aniimo Dev Team, 3 September 2026
- Vein Abundance event calendar


